
Polish Aviation Navigation Database Upgrade
Supplementary VFR data for Poland, available for SkyDemon, Dynon, Garmin, Kanardia, and other platforms.

Flight planning. Base flight planning and navigation on official sources. Before flight, check the current AIP, NOTAMs and information from the aerodrome operator. Pilots remain responsible for safe operation. Actual traffic may differ from published circuits.
Sources and reference database
Sources. Field surveys, reports and information from aerodrome operators, satellite imagery and photographs, official obstacle and geospatial datasets, and online research.
Reference database. The data is maintained in SkyDemon format. SkyDemon’s standard database is used to check for duplicates across the supported formats.
SkyDemon
Windows and mobile
Download for WindowsInstallation instructions
- Download and run the installer. Depending on your local Windows security settings, you may be asked to confirm that you want to run the downloaded file.
- The installer completes the desktop installation automatically.
- To transfer the data to a mobile device, open desktop SkyDemon and select Setup → Custom Data → Save to Cloud.
- On the mobile device, select Setup → Cloud → Load Custom Data from Cloud.
Mac → iPhone / iPad
Download for MacInstallation instructions
-
Prepare the data folder:
- Open Finder and create a folder named CustomData.
- Download and unpack the files, then place all extracted files inside that CustomData folder.
-
Transfer the folder to SkyDemon:
- Connect the iPhone or iPad to the Mac using a cable.
- Open Finder, or iTunes on an older macOS version, and select the connected device.
- Open the file-sharing area and select SkyDemon.
- If you already have a CustomData folder on the device, first copy it to the Mac. Update only the PANDU files in that copy. Drag the complete CustomData folder into the SkyDemon file window.
- Restart SkyDemon. The custom data should then appear in the app.
PANDU supplements SkyDemon’s standard charts with additional airfields, heliports and local chart details for Poland.
- Airfields with runway details, elevations and operator contacts where available. See Approach Information for additional notes.
- Heliports, including private sites and, primarily, medical-rescue heliports (LPR).
- Selected road airstrips (DOL) shown on the chart.
- Native airfield features. At every PANDU airfield, SkyDemon's native symbols and shapes show fuel stations, obstacles, power lines, lakes, aprons, aerodrome boundaries and buildings wherever those features exist. Traffic circuits are shown only for reported or confirmed procedures, with altitudes where available.
- Obstacles across Poland, including wind turbines, antennas and masts, chimneys, tall power-line pylons and other structures.
- Local avoidance areas based on aerodrome manuals.
- Administrative city boundaries for cities with more than 25,000 residents, displayed as simplified chart overlays.
Dynon SkyView
The Polish Aviation Navigation Database Upgrade for Dynon SkyView HDX and Dynon SkyView Touch adds supplementary Polish airfields and heliports. The files are imported as User Waypoints and remain stored in the system.
- Airfields: current information obtained from airfield owners and other reliable sources, with useful details added in the Remarks field. Airfields with runways shorter than 400 m are marked as Ultralight.
- Heliports: a combination of private sites and, primarily, medical-rescue heliports (LPR).
Installation
- Download the ZIP archive containing the CSV files. You may install the airfields, heliports or both.
- Copy the selected files to your SkyView USB drive.
- Import the files into SkyView as User Waypoints. If you use Clear Database to replace an older PANDU installation, first export your waypoints and set aside the ones you want to keep. This command clears all user waypoints. Reimport the saved personal waypoints along with the new PANDU files.
Garmin G3X
The Polish Aviation Navigation Database Upgrade for Garmin G3X adds supplementary Polish airfields and heliports. The files are supplied as flight plans; after import, their points are saved in the system as User Waypoints.
- Airfields: current locations displayed as user waypoints.
- Heliports: a combination of private sites and, primarily, medical-rescue heliports (LPR).
Installation
- Download the ZIP archive containing the FPL files. You may install the airfields, heliports or both.
- Copy the selected files to the SD card used with your G3X.
- Import each FPL file as a flight plan from the Flight Plan List. If you need to remove entries from an earlier PANDU import, export your user waypoints to the SD card first and delete only the old PANDU entries.
Garmin AXIS
The Polish Aviation Navigation Database Upgrade for Garmin AXIS adds supplementary Polish airfields and heliports as User Waypoints. The files are supplied in WPT format, ready for import into the system.
- Airfields: supplementary locations with available runway-threshold data.
- Heliports: private sites and medical-rescue heliports.
Installation
- Download the Garmin AXIS files.
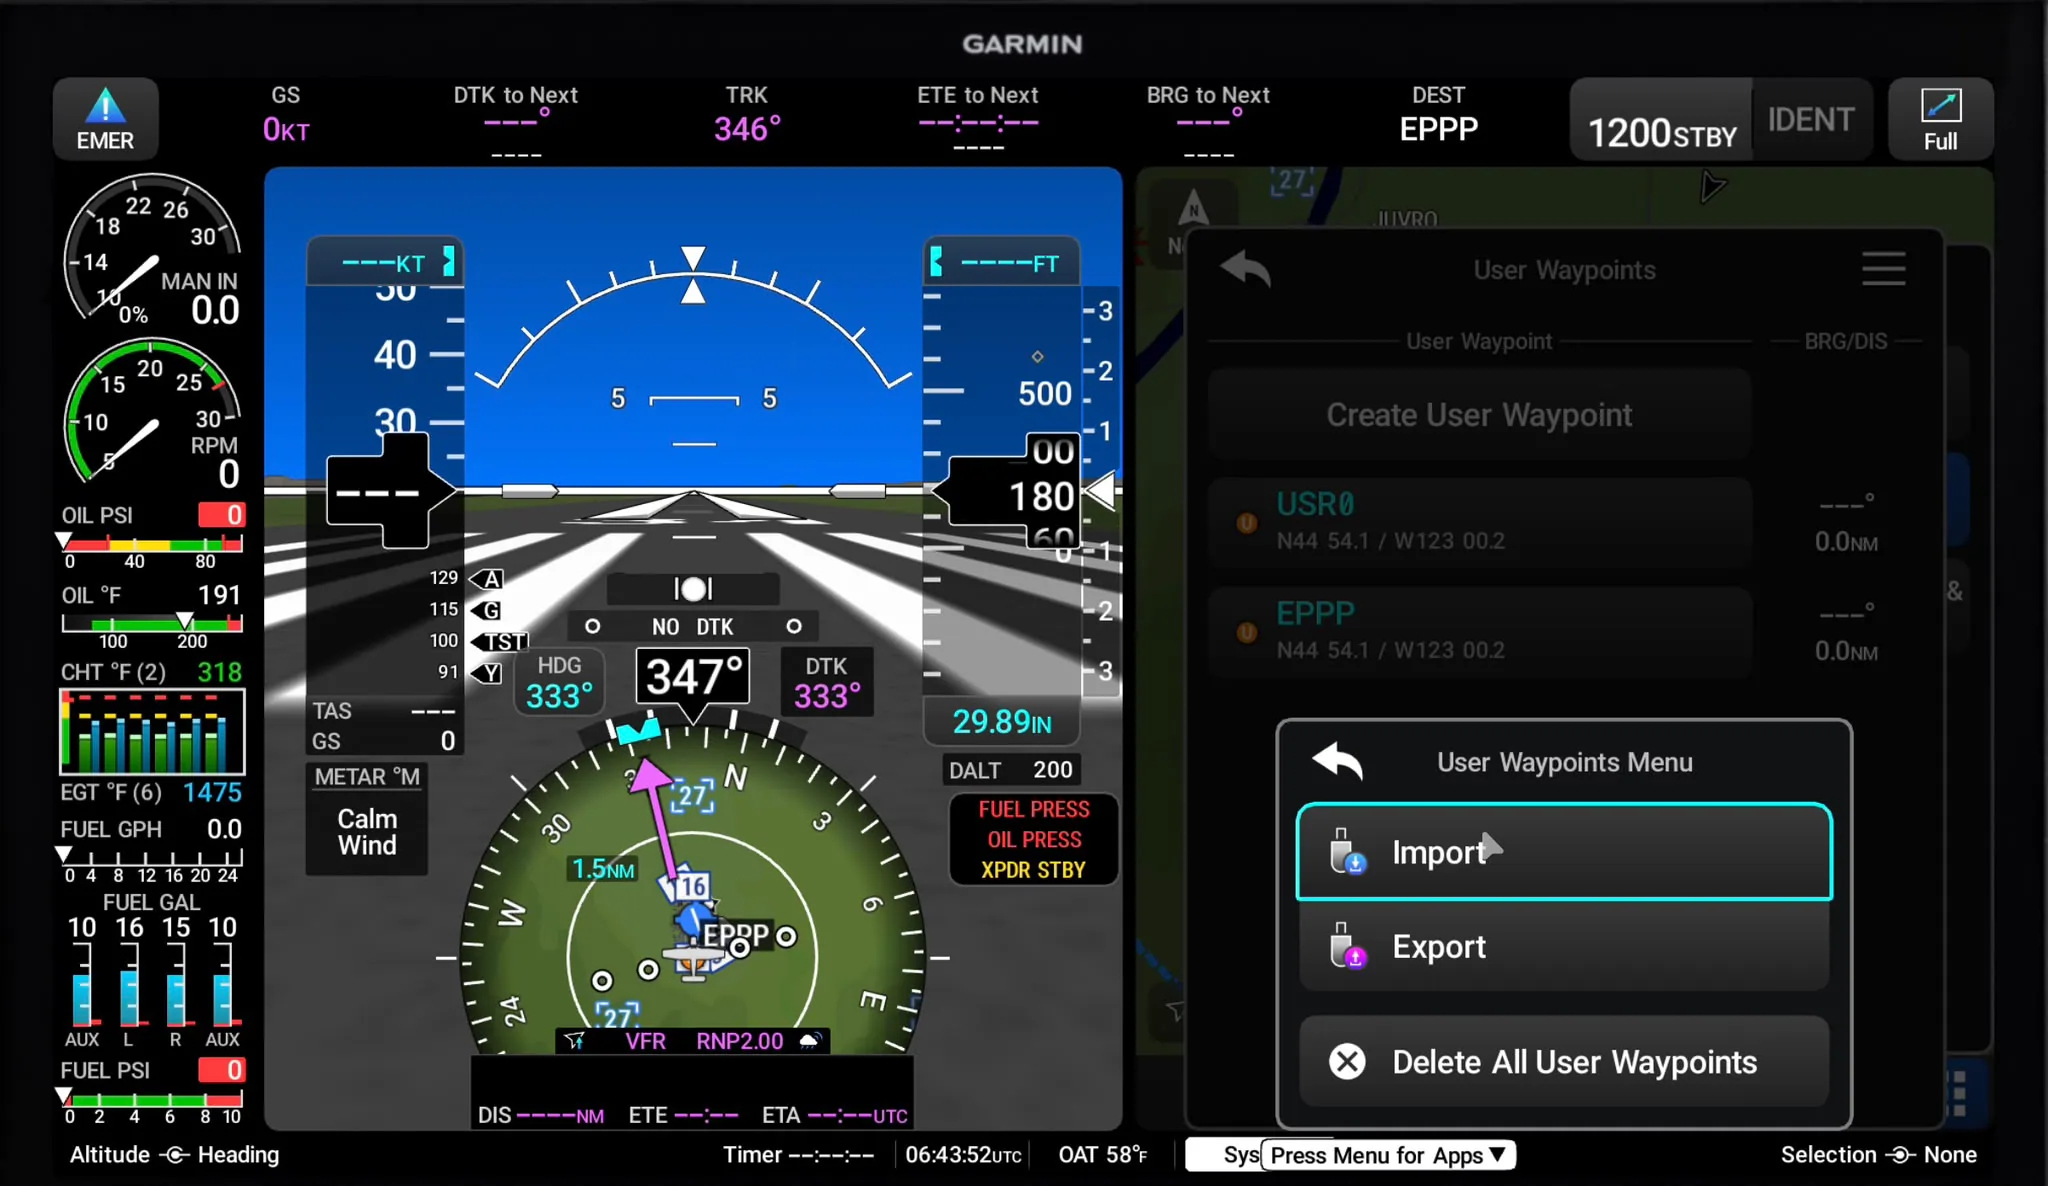
- On AXIS, open Apps → Quick Actions → User WPTs, then select Menu → Import → OK.
See Garmin’s User Waypoint import instructions for the official procedure.
Garmin Pilot App
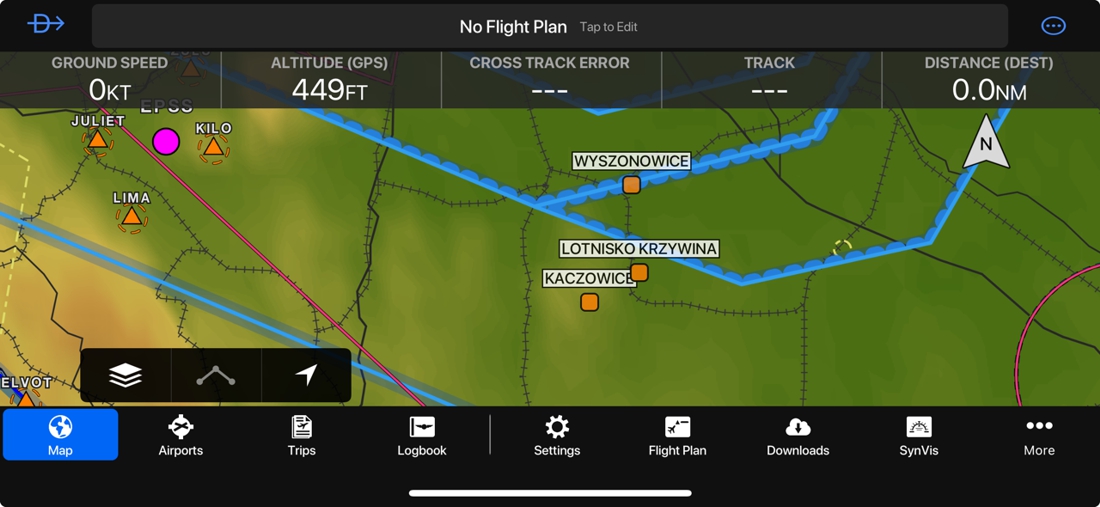
The Polish Aviation Navigation Database Upgrade for the Garmin Pilot App adds airfields and heliports as User Waypoints. The CSV files can be imported directly on an iPad, iPhone or Android device.
Installation
- Download the ZIP archive and extract the CSV files on your mobile device. Alternatively, extract them on a computer and transfer them using AirDrop, e-mail, cloud storage or USB.
- iPad / iPhone: open the selected CSV file, use the system Share function and choose Garmin Pilot from the application list.
- Android: in Garmin Pilot, open User Content / Import and select the CSV file from the device storage.
- Garmin Pilot will display the entries found in the file in the User Waypoint Import window.
- Select Save to add the waypoints.
If an identifier is already in use, Garmin Pilot may retain the existing entry and add only the new waypoints. You do not need to clear the current User Waypoint database before importing this update.
Kanardia NESIS III / IV
Supplementary Polish airfields and heliports for Kanardia NESIS III and IV, imported as user waypoints. NESIS reads names, locations, elevations and point types.
Installation
- Download the archive. Extract
PANDU_AD.cup,PANDU_H.cupor both from CUP_PANDU. - Copy the extracted files to the top level of a USB stick and connect it to NESIS.
- From the main menu open Options → Waypoints → Import.
- Select one PANDU file on the USB stick. Let the import finish, then repeat Import for the other file if required.
- Check several imported names and positions in the user-waypoint list. Airfield types also appear in the airfield / nearest list, subject to the device’s filters.
User waypoint limits: 700 in software 3.x; 3,000 in software 4.x, including your other user points. Existing database entries have priority; nearby imported points are skipped.
Updating: reimporting does not overwrite nearby existing points. To replace an older PANDU entry, select it in Waypoints and use Delete before importing again. Delete all also removes your personal waypoints.
Helipads retain H in their names and use the paved-airfield type. NESIS currently has no separate heliport category for these imports and ignores their runway and frequency fields.
Reference: NESIS — User Options / Waypoints

LXNAV / LX navigation / Naviter
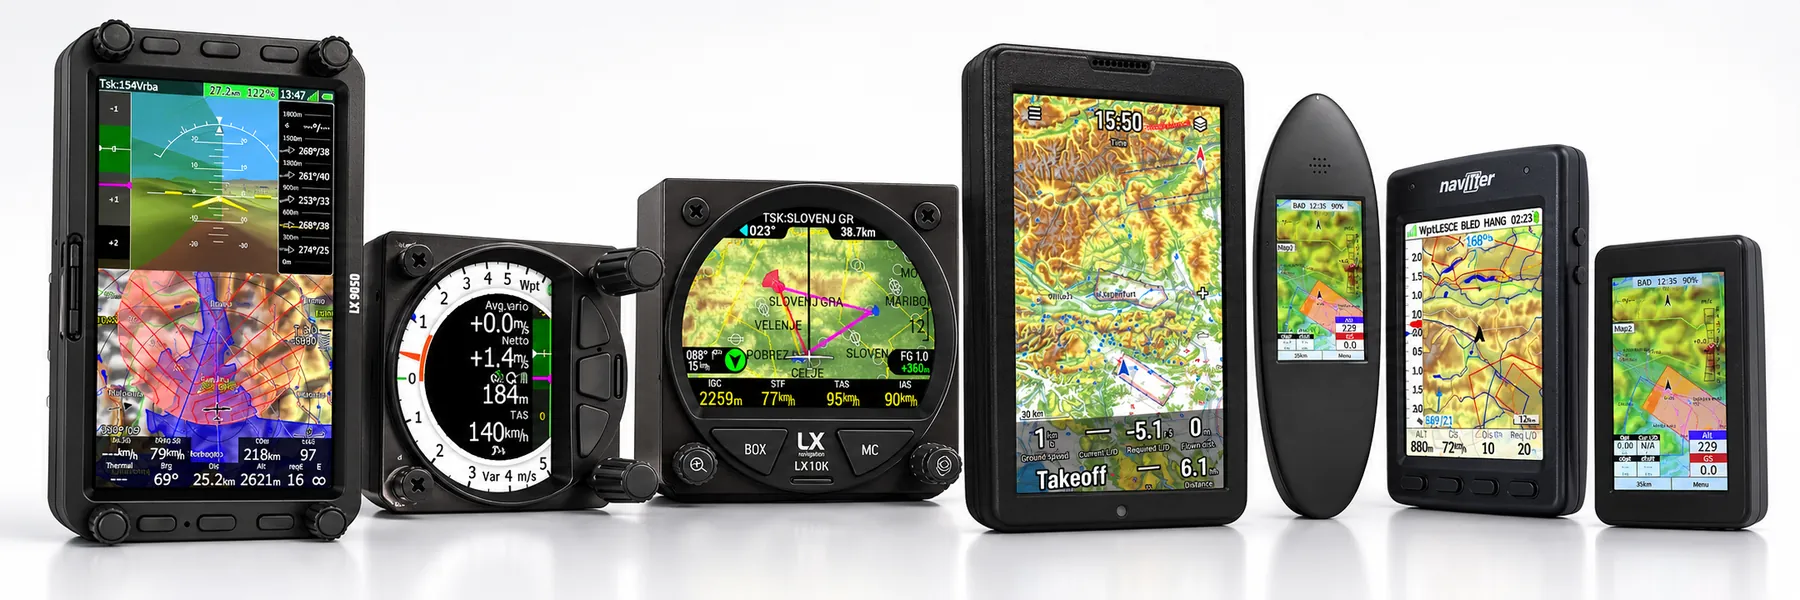
Supplementary Polish airfields and heliports for the listed LXNAV, LX navigation and Naviter models.
Download the archive and extract PANDU_AD.cup, PANDU_H.cup or both from CUP_PANDU. Open the instructions for your device below.
Menu names below follow the English interface; their placement may differ in older software.
LXNAV LX80xx / LX90xx
- Copy the files to a USB stick or supported SD card; insert it into the instrument. LX8030 / LX8040 need an add-on reader for SD cards.
- Open Setup → Files and Transfers. Highlight Waypoints and Tasks, press LOAD, select a file and use COPY. Repeat for the second file.
- Open the waypoint-file list and tick each PANDU file you want displayed. Keep your other required files enabled.
- Check PANDU points in WPT mode. ACTIVE selects the task source; several checked waypoint files can remain visible together.
Reference: LXNAV 9.5 — Files and Transfers
LXNAV S8 / S80 / S10 / S100
- Copy the files to the instrument’s SD / microSD card, then insert the card.
- Open Setup → Files → Waypoints and Tasks (shown as Way. & Tasks on some screens).
- Choose Add new and select a PANDU file. It is copied into internal memory. Repeat for the other file.
- Tick the desired files in the list. Check their points using WPT → Select; enable waypoint display under Setup → Graphics → Waypoints if necessary.
This procedure follows software I9.52 / S9.52. Each file must be below 1 MB. Older firmware may provide a single waypoint-file selector.
Reference: LXNAV S8x / S10x — Files · 6.02
LXNAV S20 / S200
LXNAV lists CUP waypoint support and wireless transfers for S20 / S200. Their interface differs from the S8 / S10 family.
The exact import and activation menus for S20 / S200 have not yet been verified. Keep the extracted PANDU files ready; use the procedure supplied for your firmware by LXNAV. The SD-card steps above are for S8 / S80 / S10 / S100.
Reference: LXNAV S20 · LXNAV S200
Naviter Oudie N / Omni
Requires software 2.8.0 or later for local CUP import.
- Connect Oudie N / Omni to a computer with a USB-C data cable and copy the extracted files to Downloads on the device.
- Open Settings → Active collections → Add waypoints file. Browse to Downloads and choose a PANDU file.
- Import the second file in the same way. Each import creates a collection; switch on each required collection.
- Check the imported locations on the map. For updates, disable or remove the older PANDU collections after checking the new ones.
Reference: Naviter — local CUP import
Naviter Oudie / Blade
- Connect the powered-on Oudie / Blade to your computer by USB. Copy the files to its Waypoints folder or root directory, then safely disconnect.
- Open Menu → Settings → Files → Waypoints → …. If Files is not on the first settings page, use Next.
- Select a PANDU file and press Active. Repeat for the other file if needed; check that both remain selected. Close the dialogs with OK.
- Save the selection with Menu → Next → Save Settings → Save profile → Yes, then check the points on the map.
Reference: Naviter — copying files · Naviter — activation and saving
Naviter Hyper
- Sign in to SeeYou Cloud. Use Upload to import each PANDU file as a collection.
- Install Naviter Updater on Windows or macOS. Connect the powered-on Hyper by USB.
- On first use, choose Pair your device and sign in to the same SeeYou account. In SeeYou Cloud, open Menu → My Devices → your Hyper and enable syncing of the PANDU collections.
- In Naviter Updater, press Update beside Waypoints and Tasks. Wait for completion and safely disconnect.
- On Hyper, use Page to reach Menu → Files. Select the transferred waypoint files for use, then check several PANDU locations on the map.
Reference: Naviter — pairing · sync selection · transfer · Hyper menu
Displayed details and symbols depend on the device. Helipads keep H in their names and may use an airfield symbol.
SeeYou Navigator / SeeYou Cloud / XCSoar / LK8000 / XCTrack / AIR³
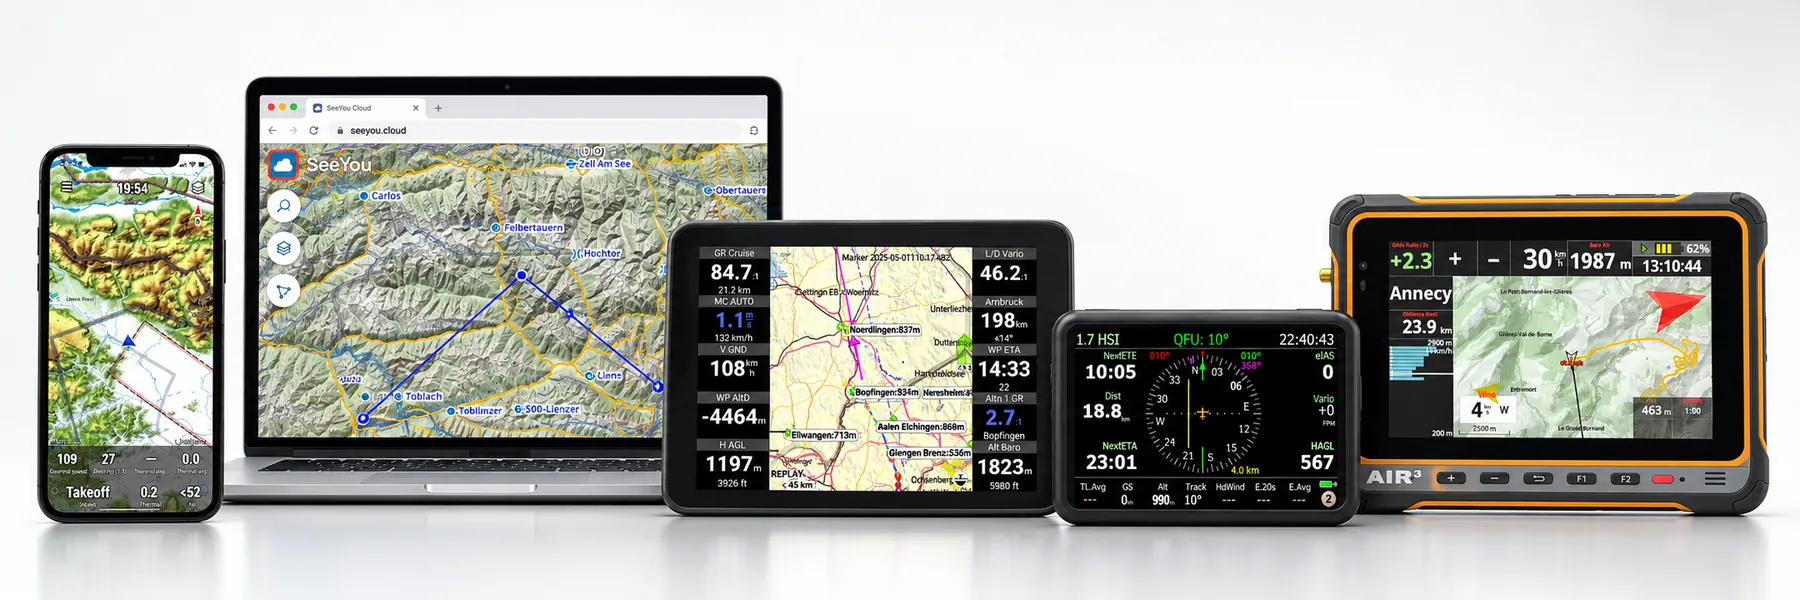
Supplementary Polish airfields and heliports for SeeYou Navigator, SeeYou Cloud, XCSoar, LK8000 and XCTrack. The XCTrack instructions also apply to AIR³.
Download the archive and extract PANDU_AD.cup, PANDU_H.cup or both from CUP_PANDU. Open the instructions for your device below.
Menu names below follow the English interface; their placement may differ in older software.
SeeYou Cloud
- Sign in at seeyou.cloud. Click Upload near your profile picture and select one PANDU file, then repeat for the other.
- Open Task Planner and check the imported collections and their waypoints. Use the collection’s … → Rename command if you want to change its name.
- For Oudie N / Omni / SeeYou Navigator, sign in to the same account on the device. Open Settings → Active collections, pull down to refresh and switch on the PANDU collections.
- After checking a new release, remove obsolete PANDU collections using … → Delete in Cloud. Other personal collections can stay unchanged.
Reference: Naviter — collections · upload · activation
XCSoar
- Copy the files into
waypointsinside your XCSoar data directory (XCSoar 7.45+). Older versions use the mainXCSoarDatafolder. - Open Config → System → Site Files → Waypoints. Config may be on the second menu page. Add both required PANDU files to the list of selected waypoint files.
- Keep your normal regional waypoint file selected too: selecting external waypoint files replaces the waypoints embedded in an .xcm map.
- Close setup and check several PANDU names through Nav → Waypoint List. If using older software with separate Waypoints / More waypoints fields, verify which files remain loaded.
On Android, use the data path shown under Site Files; it may be app-specific storage instead of the public XCSoarData folder. Recent versions also offer file import in Data Management.
Reference: XCSoar — data directories · manual — Site Files
LK8000
- Copy the files to
LK8000/_Waypointson the device, then start LK8000. - Open Config → LK8000 Setup → System Setup (Config is on menu page 2/3). Go to setup page 1 — Site.
- Open the waypoint-file selection and add each required PANDU file in a free slot. Keep your regular waypoint files selected.
- Close setup, restart LK8000 and check PANDU locations on the map or in waypoint lookup. Ensure the terrain region covers Poland if outside-terrain filtering is enabled.
Version 7.2+ supports up to nine waypoint files. Older versions may have only two file fields.
Reference: LK8000 — setup / folders · 7.2 — waypoint file selection
XCTrack / AIR³
- Copy the extracted files into XCTrack’s Waypoints folder using USB or the device’s file manager.
- On Android 9 and earlier this is usually
XCTrack/Waypointsin internal storage. On newer AIR³ systems it is underAndroid/data/org.xcontest.XCTrack/files/Waypoints; use the existing XCTrack folder. - Open Menu → Navigation → Waypoints (upper right), then the Files tab. Enable each required PANDU file; several files can be enabled together.
- Return to the waypoint list and search for a PANDU name. Open its details to check the location, elevation and source filename.
- To show points on the map, enable Display waypoints in the XC map / Task map widget’s configuration. On later updates, replace the files in the same folder and check that they remain enabled.
Reference: AIR³ / XCTrack — Navigation · Android folders · map display
Displayed details and symbols depend on the device. Helipads keep H in their names and may use an airfield symbol.
Database changelog
Selected heliport elevations are ground-level estimates from GUGiK NMT and Copernicus EU-DEM v1.1, adapted and converted to feet. EU-DEM was produced with funding by the European Union.